


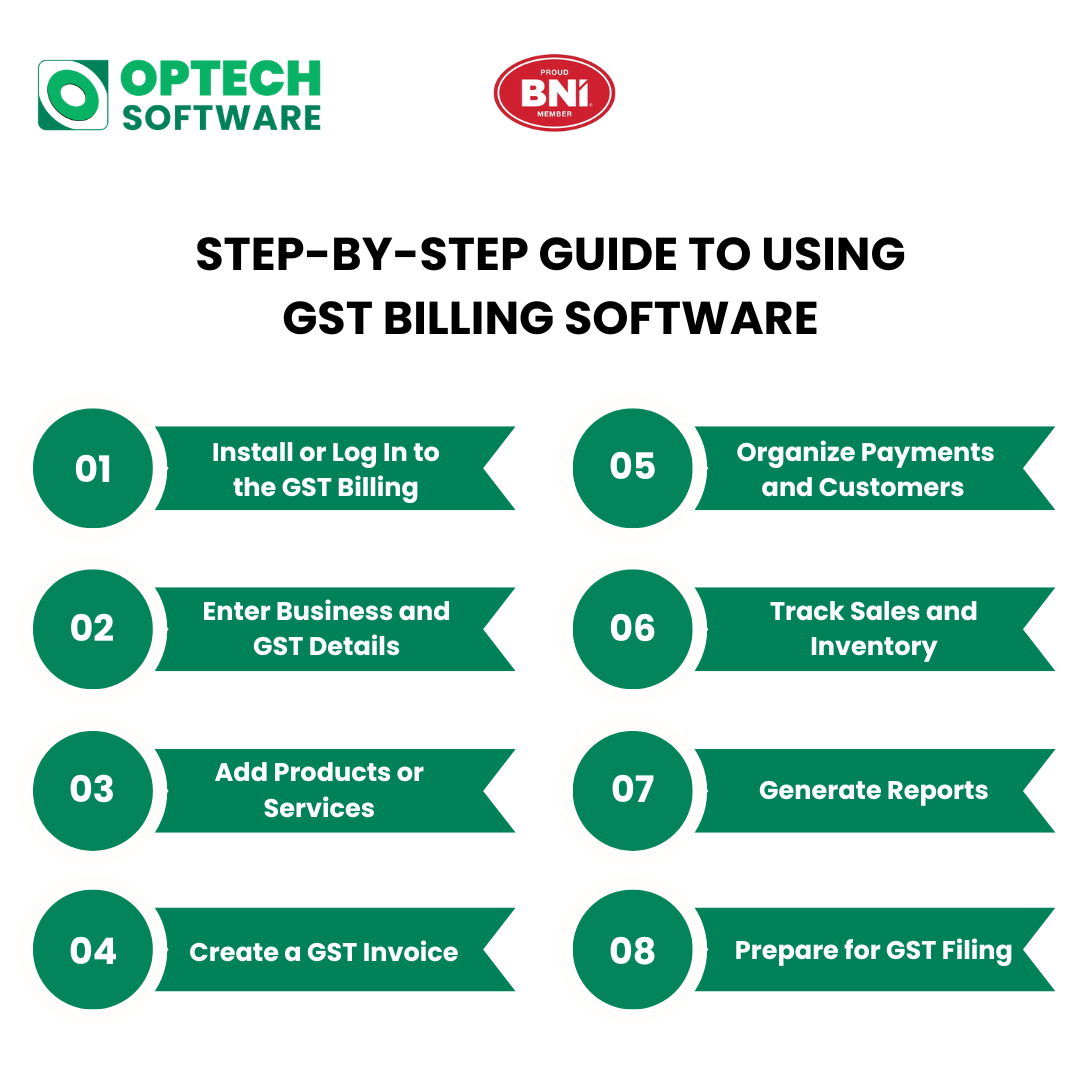
Step 1: Install or Log In to the GST Billing Software
The first step is to install or log in to the Software. To begin with, you have to install the GST billing software in your system or log in to the online version. You will need minimal information to create your business account, with some basic details such as business name, GST number, and contacts.
Step 2: Enter Business and GST Details
Enter your company details, including, GSTIN, address, type of tax and bank details. This will make certain that there are no invoices where GST is miscalculated.
Step 3: Add Products or Services
Enter product or service details, including price, HSN or SAC code, GST rate, and stock quantity. This helps in accurate billing and inventory tracking.
Step 4: Create a GST Invoice
Choose the customer, select the products or services and make the invoice. CGST, SGST or IGST are automatically calculated by the software with GST rules.
Step 5: Organize Payments and Customers
Save customer details and track payments. You are able to state invoices as paid or unpaid and remind about the outstanding payments.
Step 6: Track Sales and Inventory
Monitor daily sales, stock levels, and purchase entries. This helps avoid stock shortages and improves business planning.
Step 7: Generate Reports
Use the report section to view sales reports, GST summaries, tax liability, and profit details. These reports help during GST filing.
Step 8: Prepare for GST Filing
GST billing software organizes data for easy GST returns. You can export reports or directly use them while filing returns.
Conclusion
Using GST billing software makes billing simple, accurate, and GST-compliant.With these steps, the businesses would save time, less manual work and better finances. It is a smart tool for smooth and stress-free business operations.
